Abbe refractometer use method
Abbe refractometer use method
1. Preparation and Correction Place the refractometer in a well-lit place and connect it to a constant temperature water bath so that the temperature of the refractometer prism is 20°C. Then, the lower prism (mirror 18) is opened, twisted backward about 180° C., the upper prism (refractive prism) and the calibration standard glass are washed and dried with acetone, and a drop of 1-bromobenzene is dropped on the standard glass. Smooth surface, and then attached to the upper prism surface, gently press the four corners of the standard glass with your fingers, so that the prism and the standard glass with a layer of uniform brominated benzene, turn the mirror, so that light shines on the standard glass In the above, the prism rotating handwheel 2 is adjusted so that the eyepiece field of view is divided into light and dark parts, and then the Amisi prism hand wheel 10 is rotated to eliminate iridescence and make the boundary between light and dark clear, so that the dividing line of light and dark is aligned on the cross. The deviation can be adjusted to adjust the value of the adjusting screw 9 so that the dividing line between the light and the dark is exactly on the cross. At this time, the refractive index is read out from the reading field. Compared with the value on the standard glass, the difference between the two is not greater than 0.0001, and the correction is ended. Can also be corrected with pure water. In the metal cylinder of the Aberdeen refractometer's telescopic eyepiece, there is an indication adjustment screw for the calibration instrument, usually using a 20°C water calibration instrument (with refractive index ND20=1.3330). Standard glass corrections with known refractive indices can also be used.
2. Measurement: Purge the light entrance prism and the refracting prism with acetone or ethyl ether, wipe or dry with a tissue paper to inject a few drops of sample, close the prism immediately, and keep the sample and the prism at 20°C for several minutes, and then press the aforementioned method. Adjust, record readings, readings should be accurate to the fourth decimal place (the last one is the estimated number), turn from one side to the other side of the boundary line on the cross, repeat the readings 3 times, the difference between readings is not greater than 0.0003, the average value of the obtained reading is the refractive index of the sample. After the measurement is completed, open the prism and lightly dry it with a tissue paper. In any case, it is not allowed to contact the prism with anything other than the lens paper so as not to damage its optical plane.
For related instruments, see: http://?id=243
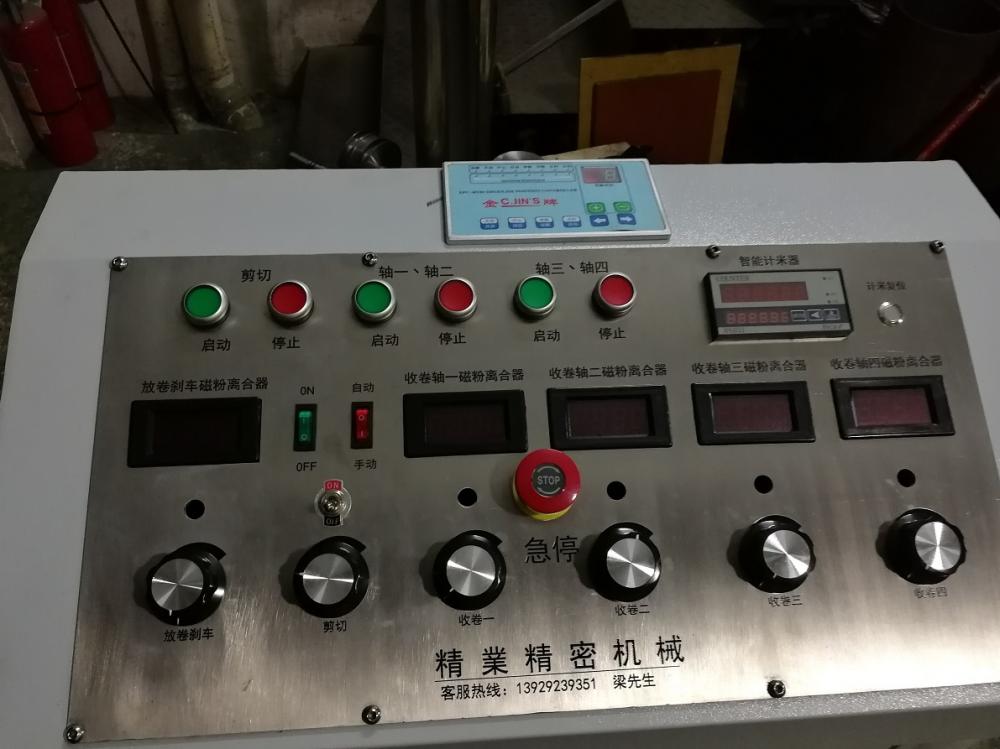
Jingye precision mechanical slitting machine is specially used for slitting various thin strips, such as copper,
 Aluminum, iron, stainless steel, up to + -0.002mm
(1). Raw material specifications 1. Material: metal strips such as copper and stainless steel strips. 2. Material width: within 420mm. 3. Material thickness: copper strip 0.05mm∽1.5mm, stainless steel 0.05mm∽1.0mm. 4. The inner diameter of the raw material roll: ï¿ 300mm. 5. Outer diameter of raw material roll:â‰¦ï¿ 1500mm.
6. Weight of raw material roll: ≤3000kg.

Turning Machinery,Design Metal Slitting Machine,New Type Metal Slitting Machine,New Type Metal Splitting Machine
Dongguan Liaobu Jingye Precision Machinery Factory , https://www.dgjyjmjx.com